Sunday, December 11, 2016

Interactive Google Slides Presentations!

This week in the Ed Tech world I decided to create a Google Slides presentation to present a How-To seminar on using Google Classroom for the first time. I thought I knew quite a bit about Google Slides already, but for this presentation I really combined a lot of other apps and features provided that I had never used before. I am even more of a Google Slides fan now than I was before and I can't wait to use this more with my students! 

To start, the Google Classroom 101 slideshow I created is below. If you aren't a user of Google Classroom yet and hope to be, this presentation would really benefit you! There are short tutorial videos for a variety of tasks and features within Google Classroom!


The biggest takeaway I had from diving into Google Slides further this week was that you can truly make an interactive presentation. I've always known that you can hyperlink videos, websites, and images, but I had no clue that you can actually hyperlink to other slides within the presentation itself! This means that you can create an index page with live links to other slides in the presentation for your users to quickly advance to any section of your presentation! This would be GREAT for students to quickly access specific information or "chapters" within a lesson! 

The screenshot below shows how to do this! 


I also really liked the idea of adding a "home button" on each slide that takes users back to the index page! In the Slideshow that I created, I hyperlinked an image that directed back to the index page of the presentation! This is just another interactive feature that makes the presentation easy to navigate and extremely user friendly! 

Give it a try in my Google Classroom 101 presentation above!
________________________________________________________________

Another great discovery this week about Google Slides is how many theme templates are available to download from the internet. I'm a BIG advocate for the aesthetic appeal of presentations, assignments, and instructions for both students and adults alike! Below are several great links to websites that offer many different Google Slides theme options!
________________________________________________________________

The last big ah-ha moment came in how easy it is to make tutorial videos and embed them into your own presentations. It should come as no surprise that any time our students want to learn to do something they turn to YouTube! Why do we not use this knowledge and the free tools available to capitalize on this more?! If you've not used Screencast-O-Matic before you need to install it immediately! It is a a FREE tool for recording screencasts, or the actions you are carrying out on your computer screen, as well as audio. This allows you to create simple How-To videos the SHOW how to carry out a task while you speak instructions or tips over the top. 

To make it EVEN easier, once you are done recording, Screencast-O-Matic allows you to directly upload your videos straight to your YouTube account!
 

Once your videos are on your YouTube account, adding your tutorials to your interactive Google Slideshow has never been easier! Simply "insert" a video on the slide and copy and paste the URL of your YouTube video! 

See the screenshot below!


By combining all of these features and tools together, I was able to create an interactive Google Slideshow that will be easy to navigate and extremely beneficial to new Google Classroom users. Imagine to possibilities of using this as an instructional tool in your classroom!

Saturday, December 3, 2016

Every teacher's FIRST question: Is it user friendly?!

If this isn't your first question when looking at a new online tool or resource to use with your students, then I'm not sure what is. (It definitely should be!) We've all asked ourselves this at one point or another. Thinking of ways to explain how to access or login to a resource to my students is where my head IMMEDIATELY goes when I'm exploring new tools. This week, I explored some ways to help ease that anxiety and and angst about user friendliness!


Allow me to introduce you to SYMBALOO! Watch the short video below for a full explanation on what Symbaloo is and has to offer you in your classroom!


Do you have several resources or tools that you already use regularly in your classroom? Does your team of teachers use different platforms or learning management systems? Are you working on a unit where students need quick access to specific resources and websites? Symbaloo is PERFECT for you. It creates quicklinks to all of your tools and because it is live it can be customized and changed at any point. And the biggest appeal of them all is the visual appeal that Symbaloo offers to your students. Not only are the "tiles" live links, but you can also customize the image on the tile so students can easily navigate where they need to go. Still not convinced? Take a look below at the webmix that I use with my students. I've updated it over the past two years to reflect the tools, resources, and websites that my 6th grade students will need throughout the year. 


So it answer the first question: Is it user friendly? ABSOLUTELY. Students are not required to login to anything when you send the link to your class Symbaloo. Even better, Symbaloo allows you to embed your webmix (as I have done above) into just about any website or platform. This means that your students have EASY and clickable access to all of your links and tools at any point. 

Is creating your own webmix user friendly, too? 100% yes! Because Symbaloo has so many users, you can search for tiles, such as Google Drive or Outlooks, that are popular and pre-created by other users. This not only makes creation easy but it also saves you a ton of time! Can't find the tile you're looking for or want to create a tile that sends your students to a very specific website? No problem! Create you own with just a few more steps and you can even customize the image that will appear on the tile for your students to see! 

STILL not convinced that you need Symbaloo in your life and in your classroom?! Click HERE to read 11 ways that you could create a webmix to improve your teaching, parent communication, and even your lesson planning! 

Sunday, November 20, 2016

Saving TIME and Organizing Your LIFE

I've mentioned far more than once that what every teacher needs more than ANYTHING else is just more time. A teacher's time is so precious and valuable, and it's also something that we HATE giving up for no reason. This week I went on a hunt for ways to save you time and help organize your already hectic life! (You're welcome in advance!) 

First, and foremost, I used a VERY cool program called Adobe Spark to create a page of tips and tools to save you time and help organize your life. This is a resource that I cannot wait to use to create pages for my students AND to have my students create pages for projects and assignments. If you haven't already checked this out, PLEASE do yourself a favor and watch the short video below to learn more about Adobe Spark and all the features it has to offer you! 


Now, on to the page I created for you! 

TIME: A Teacher's most valued possession

BONUS: Click the links below to see a few more of my favorite time saving tools and organization tools to help you keep your sanity the rest of this school year!


  • Orange Slice - A Google Drive Extension that allows you to insert rubrics   for grading right into documents and files!
  • PlanbookEDU - A digital planbook that allows you to directly attach files and share your planbook with other teachers for collaboration!
  • Online Timer - A timer that ticks down like a bomb! Students love having the visual reminder of how much time is left watching the bomb explode!

Saturday, November 12, 2016

All you REALLY need in life is Google Drive...

In a previous post I talked about all things Google, including Google Drive. This week, I explored even further in the world of the drive and found some features and add ons that I wish I had known about even sooner. As mentioned before, Google seems to get better and better the further you explore!

The first feature that I stumbled across was an Add-On in drive that allows you to annotate PDF files. This add-on is called Kami and I can't wait to share it with some of my colleagues! Watch the short video below for a better explanation. 


As a teacher who is nearly paperless now, Kami is really the last feature I needed. Additionally, Kami has worked really hard to make this tool work especially for teachers. Are you already using an LMS and want to incorporate Kami into that? 

_________________________________________________________________________________
The second feature within drive that I find exceptionally useful is Google Forms. I know that I have written about Google Forms previously, but Google just keeps finding ways to make it better and better! Last time I explore Google Forms I made mention of the awesome add-on Flubaroo and how it made grading quizzes within Google Forms a breeze! Google apparently took notice to how many people were using Flubaroo because at the end of the summer, they began offering self grading quizzes as an option within Google Forms! It is limited to multiple choice, true false, drop down option questions, but this is still a HUGE step in the right direction for Google. The video below shows you exactly how to set this up if you're new to using Quizzes on Google Forms!

_________________________________________________________________________________

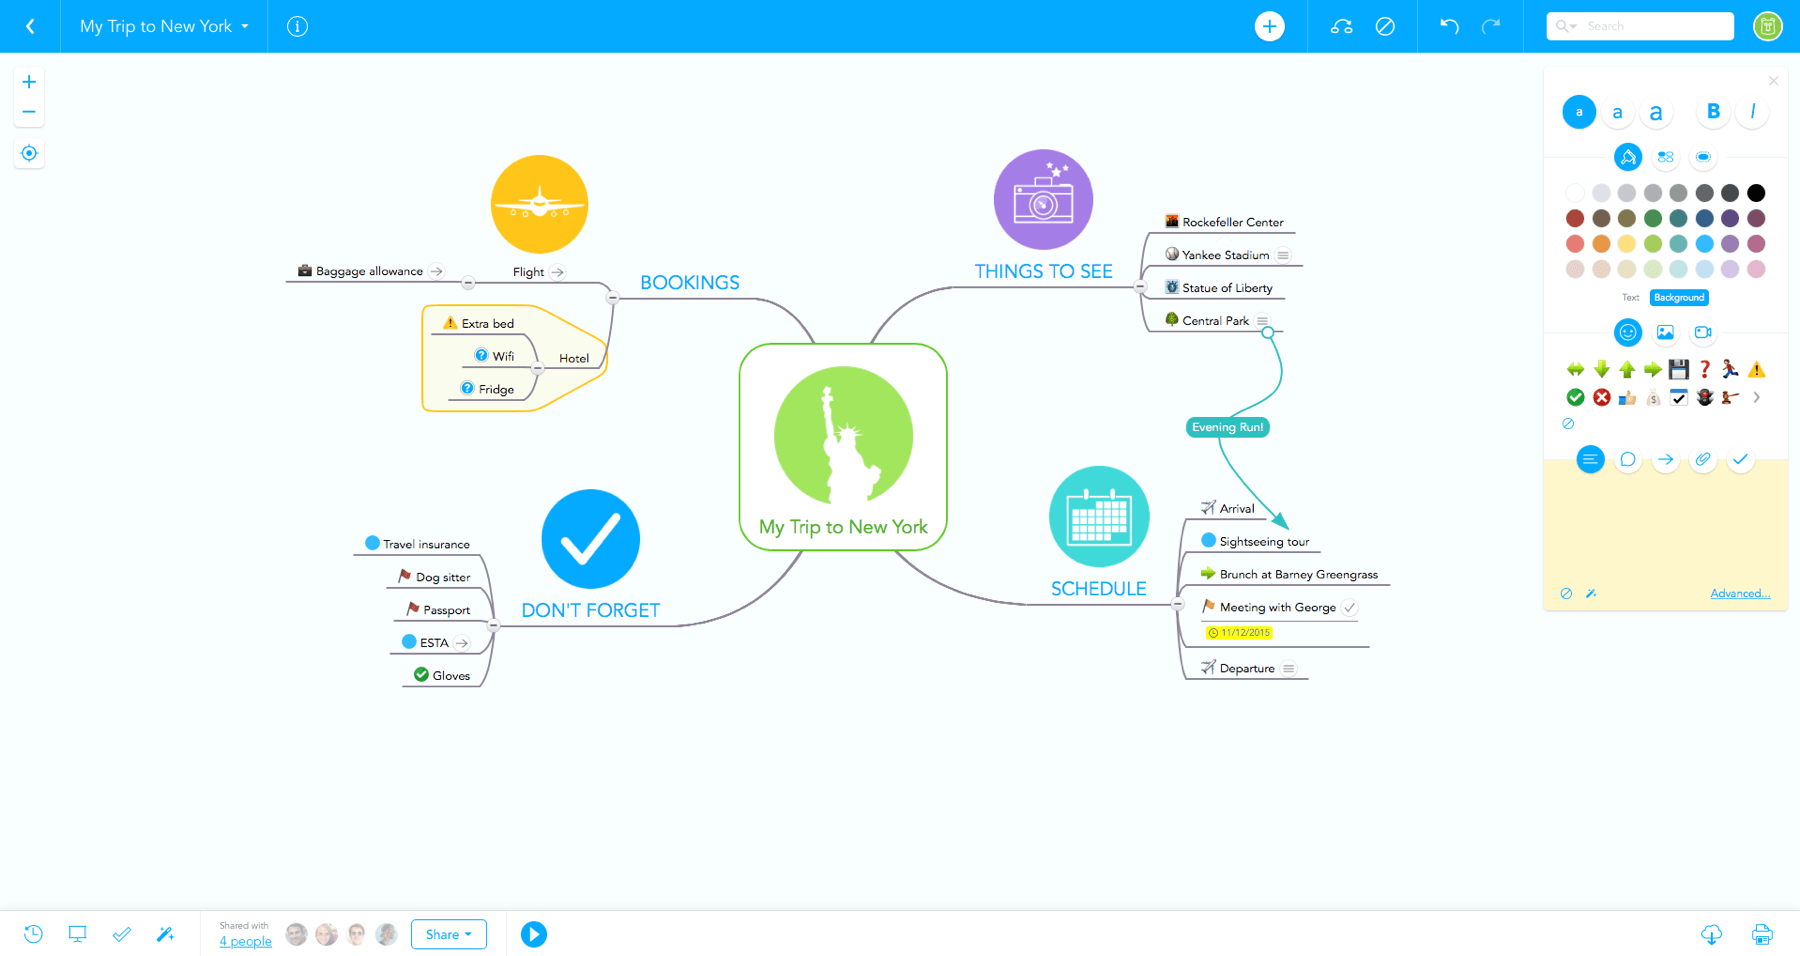
The final feature that I found useful in Google Drive was the Add-On Mindmeister! This tool allows teachers and students to create mind maps and graphic organizers quickly and easily! The layout of the tool is extremely user friendly and the Google Add-On allows you to insert a created mind map into any Google Doc or Slideshow! This would be great for having students either create their own graphic organizers or fill in teacher created graphic organizers! (BONUS: It works on iPads!!! This is the biggest selling point for me!)


Not only is this a fantastic tool for a writing teacher to have in their back pocket, but it Mindmeister also allows multiple users to be working on the same mind map or graphic organizer at a time. This collaborative feature makes this a useful tool for a teacher of just about any content!

Still not convinced you need to check it out? Watch the video below to get a better understanding of Mindmeister's capabilities and uses in your classroom!

Saturday, November 5, 2016

Learning Management System: WHAT is it and WHY should you care?

Learning Management Systems (LMS) seem to be ALL the rage right now in education. So what are they? Basically an LMS is a digital platform for students to interact with one another, receive digital lessons and resources, and turn in assignments. With the emergence of blended learning and digital learning, different LMS platforms have become more and more popular across the world. The video below gives an even more in-depth answer to explain exactly what an LMS is. 


So now you're probably saying, "This seems great and all, but why do I need one of the LMS platforms? What I'm doing works and has always worked!" To that I will add that today's students are living in a time that is like none that we've previously seen. Their futures will continue to revolve around technology and the use of all sorts of digital tools and resources. Why not incorporate what you're doing in your classroom every day with the technology and tools that they will need to succeed in their futures? 

You also are probably saying, "This seems great and all, but it also seems like a lot of work and like it would take a lot of time to set up!" To that I will add that you probably aren't wrong in thinking that initially. It can be a little bit of a learning curve when you are initially setting up your LMS and it will also take some time for you AND your students to get used to using it regularly. But what I can attest to is the MASS amount of time and energy that you will save once that learning curve is over. Think of all the quizzes and tests that will automatically be graded for you using these LMS platforms. Think of how quickly and easily you can give students feedback on assignments, or how efficiently you could grade essays and writing assignments. These platforms are designed to make the teacher workload LESS consuming but MORE powerful. 

MOST IMPORTANTLY I will add that you don't need to be technologically inclined to make one of these LMS platforms work for you, you just have to have a little bit of patience and be willing to try it. I'm not talking about looking at it for a few hours and deciding it's too much work upfront... I'm talking about REALLY trying it. Use it for a unit or a quarter and have your students give you feedback! You have to be all in to make this work for you. I honestly cannot image that you'll be disappointed if you do!

Need more convincing? Click HERE to read a short article about the Top 8 Benefits of using a Learning Management System in your classroom!
________________________________________________________________

This week I dove into exploring a few different LMS systems that I was not super familiar with. As a previous user of Blackboard and a current user of Google Classroom, I have to admit that I wasn't too enthused about trying ANOTHER LMS to see what it was all about. (Some of you may be reading this and thinking the same thing)... But after giving it a real try and letting myself explore the different tools and features available in some of the different options, I was pleasantly surprised. The two LMS platforms that I dove deeper into were Schoology and Edmodo. I had heard of both of these platforms before but had done very little research into how they worked and what they had to offer. What I found was that the two are exceptionally similar in use, but that the outlay and look of them is very different. Edmodo takes on a bit of "Facebook" style look and seems to be built to look more like a social media site. Schoology is a bit different and is organized more by assignment, quiz, or resource. Both of these platforms offers one tool that I feel Google Classroom is really missing: Connectivity. In Schoology you can search for resources and ideas that other educators have made public and shared with the Schoology community. In Edmodo you can join "groups" where other likeminded teachers share lessons, resources, and even assessments with one another. These connectivity pieces really allow you collaborate with other educators across the country and could even be used as a digital collaboration tool for teachers within your building! The image below shows some of the similarities and differences between Schoology, Edmodo, and Google Classroom. 
Overwhelmed about which LMS to try? Here are my thoughts... If you're just starting out, I don't think there is a wrong answer for which LMS to use. I think you have to choose the one that feels the most user friendly for you and your students. Even after seeing all of the awesome features of Schoology and Edmodo, I don't know that I will switch from using Google Classroom because I am familiar with it, my students are familiar with it, and it does everything that I need it to do right now. There isn't one right answer. And there are FAR more choices to choose from than just these three. I won't even go as far as to recommend one over the other, but I will say that you need to do your research before you make that decision for your classroom. Not sure where to even start? Click HERE for a great article about what you should consider before you make that choice. The most important thing is that you MAKE THE CHOICE to use an LMS in the first place! You will thank yourself later! 

Sunday, October 30, 2016

Tweeting your way to a stronger PLN

Your Personal learning Network (PLN) is a fancy way of saying how you connect with other people to continue learning. How you do this is different for everyone, but this week I dove into finding new, digital ways of exploring and expanding my own PLN. One of my favorite PLN tools is Twitter! Not sure what Twitter is or how to create an account? Click HERE for a quick and dirty rundown! I use my classroom Twitter account almost daily in a couple different ways. First, and foremost, I use Twitter to share information, announcements, and student work! Twitter is a fantastic platform for students and PARENTS to see information and pictures of what is going on in your classroom! The students absolutely love seeing themselves and their work being tweeted out and parents love the idea of getting that glimpse of what their student is working on in class delivered right to their smartphone or computer. 


If you're already using Twitter, the video below gives some great tips on how you could take your classroom Twitter to the next level! 


Additionally, I use Twitter to connect with other teachers and educational companies! Because you can search hashtags on Twitter, you can find tweets about nearly any topic. I love searching #edtech to see what people are talking about and what resources and tools are being shared around! It is a quick and easy way to pulse what's new in the Ed Tech world! As you've heard me say before, I don't have TIME to do anything but take a quick pulse on just about anything! 160 characters is just what I need to easily browse through, find what I want and pass by what I don't! 

Interested in Ed Tech? Check out the Twitter users below who tweet out some fantastic Ed Tech based resources, tools, and articles! 

- @ShakeUpLearning
- @spearheadedtech
- @coolcatteacher
- @WilCodilla
- @KerryHawk02

Interested in searching some Ed based hashtags? Try searching up the hashtags below to find some amazing users, articles, resources, tools, and more!
- #edchat
- #edtech
- #edtechchat
- #GoogleEdu
- #CSEdu 

Don't forget to follow ME on Twitter @MissKingSMS for more #edtech and #EnglishEd tweets!


Sunday, October 23, 2016

Blogs, Blogs, all types of Blogs!

This week's focus in the EdTech world was focused in on Blogs! I'll be the first to admit that I am not one to seek out blogs to read through.  A large reason for this is because I just haven't had the time to sit down and read through some not-so great blogs to find the really good ones. I use Twitter far more than I read blogs because the information is chunked into smaller, more simplified titles that I can quickly browse through to see if I actually want to read the article. What I took away from this week's exploration into blogs is that many of the people I follow on Twitter and really enjoy also have some pretty amazing blogs! 

Additionally, because I like the platform and setup of Twitter, there is also an amazing tool called Feedly that allows you to input the blogs that you follow and it will populate all the new posts from each of the blogs in a very visually pleasing way. For a quick rundown and a much better explanation on what Feedly is and does, watch the video below. 


This tool now allows me to QUICKLY browse through blog posts from my favorite Ed Tech bloggers and I can choose which to actually read and which to pass by. I've also added the Feedly app to my iPhone and my iPad because, as mentioned before, time is the biggest issue when it comes to reading this great information that these insanely smart individuals are putting out into the world. That's every teacher's problem, right? There just isn't enough time in a day. Well the Feedly app lets me quickly have access to all of these blogs in ONE place and even if I only have 5 minutes to browse through them during my lunch break or as I am waiting on a student, I know that I am using my time efficiently! 

Give it a try! I'll admit, I was skeptical at first but have been very pleased so far with the web based tool and the app. Not sure where to start? Sign up for a free Feedly account by clicking HERE! Not sure which blogs to follow after you have an account? Below is a list of some of my favorite blogs to help get you started!